Sunday is pickup day.
I have the correct color sink/fridge that I got from Tom S, as well as part of a closet. So that makes the bed, sink unit, and headbanger of the correct color, if not year; whereas the closet and jumpseat are of the 72-73 veneer. From looking at Mel's ex-partner's 72 westy photos, it looks like the jumpseat is my color, maybe I can figure out a trade or sometign to get the right one for my bus... If not, I may have another source in MI, but its far away north of Detroitish.
To give you a preview:
Interior- I'm thinking laminate flooring probably, but not right away until I can get all the right color veneer. The white painted floor is alright for now I guess, just need a rug or some carpet remnants. I don't have a headliner or the side wood panel but I did find some vinyl wood style stuff that I may use for the headliner. Installing the poptop should take forever since I've not done something like that. The Amish made piece does fit though, as the one that was made for a guy in MI on goodvolks went into his westy fairly easily.
Exterior- get some rustoleum cans and sandpaper to cover up the body work and fix a few paint problems.
Mechanical- brake work, replace fuel tank, get it running right
Nick's 1971 Westy
Re: Nick's 1971 Westy
Nick a.k.a. Parts-whore, Young Nick, Subwoofer Nick, Nebraska Nick, Doc, the Amish connection.
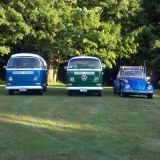
Now: 1967 bug, 68 westy, 70 bus, 70 westy, 70 bug (FS), 71 westy, 71 bug
Past: 58 bug, 66 bug, 68 bug, 68 westy, 71 super, 74 super
Now: 1967 bug, 68 westy, 70 bus, 70 westy, 70 bug (FS), 71 westy, 71 bug
Past: 58 bug, 66 bug, 68 bug, 68 westy, 71 super, 74 super
Re: Nick's 1971 Westy

I forgot to take a before photo. The rear bumper was rusty as can be inside and had spotty paint on it, rusty, etc. I ran down three drill batteries with a wire wheel to make it rust free as possible and to feather the metal and paint edges. I cleaned the whole thing off with Awesome cleaner solvent before painting. A can and a half of spray primer and a can of white rustoleum gloss later, the result is above. Some bubbles formed due to wind so there is some texture to the paint, and you can kinda see some of the edges where it was bare metal, but its ok for now. I'm a LEAKOILER, not a Pebble Beach bum
Last edited by blue71 on Mon Jul 05, 2010 6:54 pm, edited 1 time in total.
Nick a.k.a. Parts-whore, Young Nick, Subwoofer Nick, Nebraska Nick, Doc, the Amish connection.
Now: 1967 bug, 68 westy, 70 bus, 70 westy, 70 bug (FS), 71 westy, 71 bug
Past: 58 bug, 66 bug, 68 bug, 68 westy, 71 super, 74 super
Now: 1967 bug, 68 westy, 70 bus, 70 westy, 70 bug (FS), 71 westy, 71 bug
Past: 58 bug, 66 bug, 68 bug, 68 westy, 71 super, 74 super
Re: Nick's 1971 Westy
Sean, Rick, Brad, and everybody else here are some photos, after a kind of long wait.
The cover up paint is some sort of dark blue, an ok color for the body work at the moment.

The nose was straighted most of the way and all tire carrier holes closed up. I'll have to redrill the holes for the VW logo that used to be on Olaf (replaced his with NOS )
)
The wheel arch splash areas were cut out and fixed. Driver well
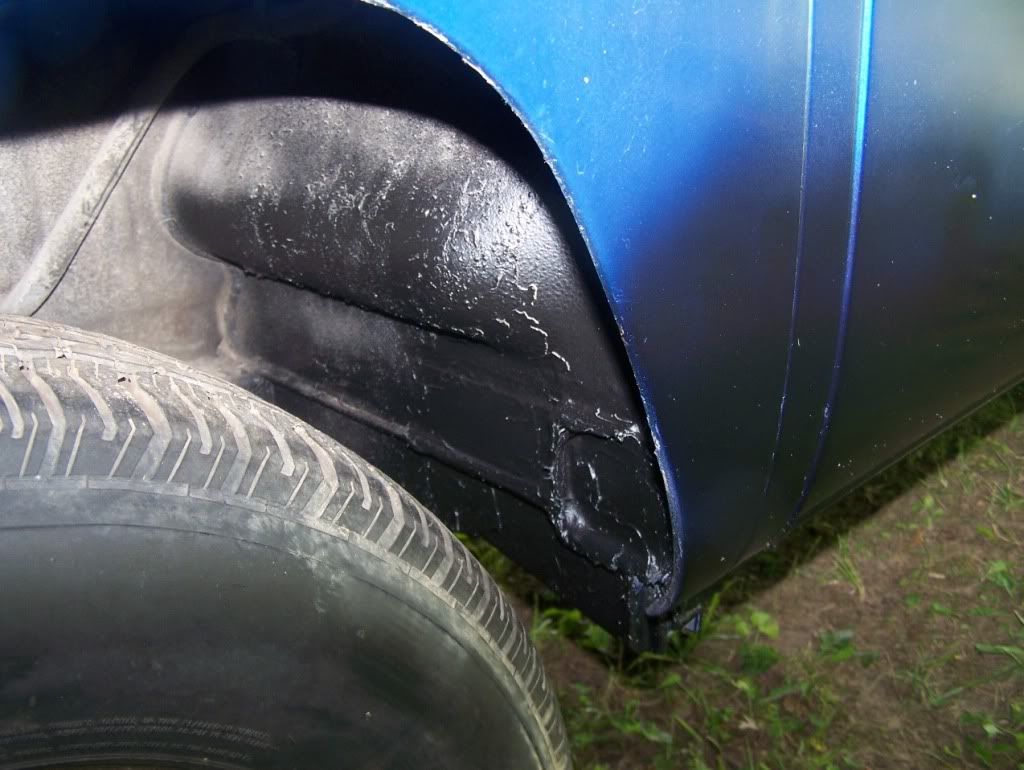
Passenger well
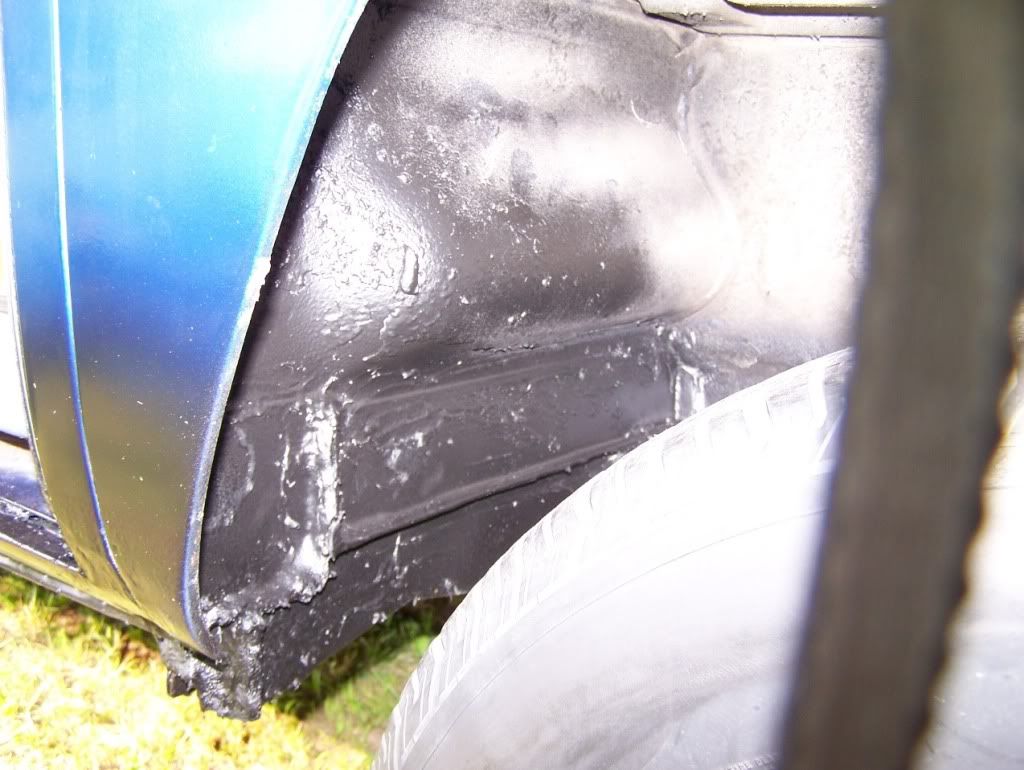
Driver rocker
Driver rocker part 2
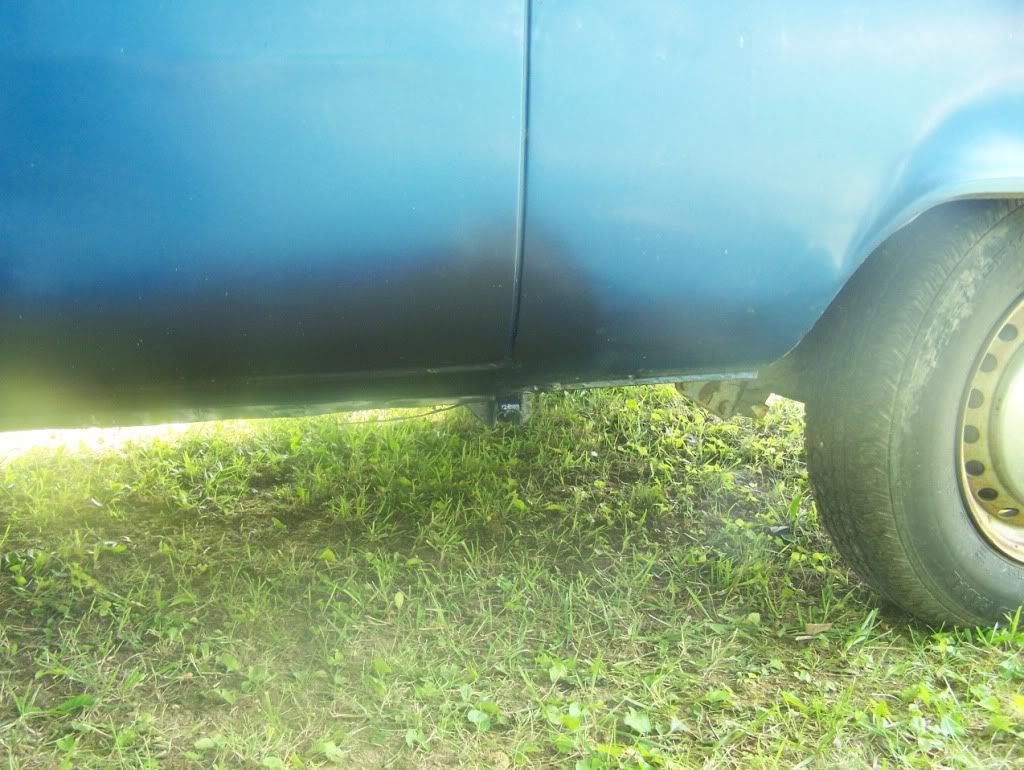
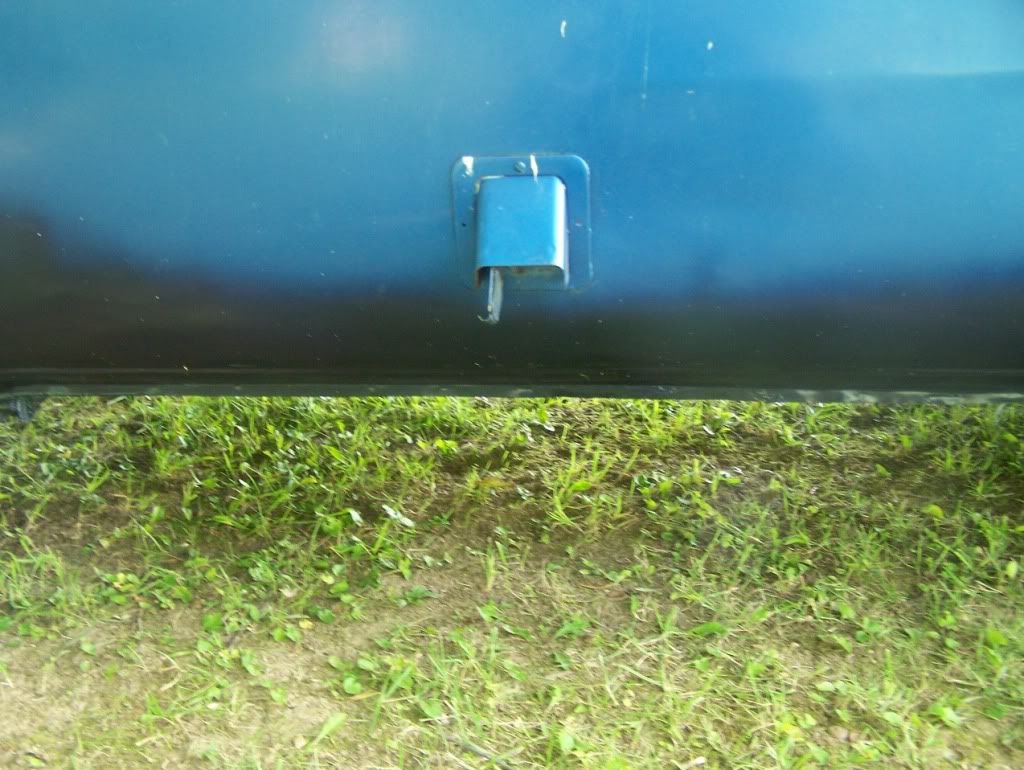
Passenger rocker. The door is still hard to open, like it was before. Any suggestions?

The old hatch was pretty much swiss cheese, so preemptively I traded my cot for a hatch I hoped was better, it was but not pristine. Needs paint...
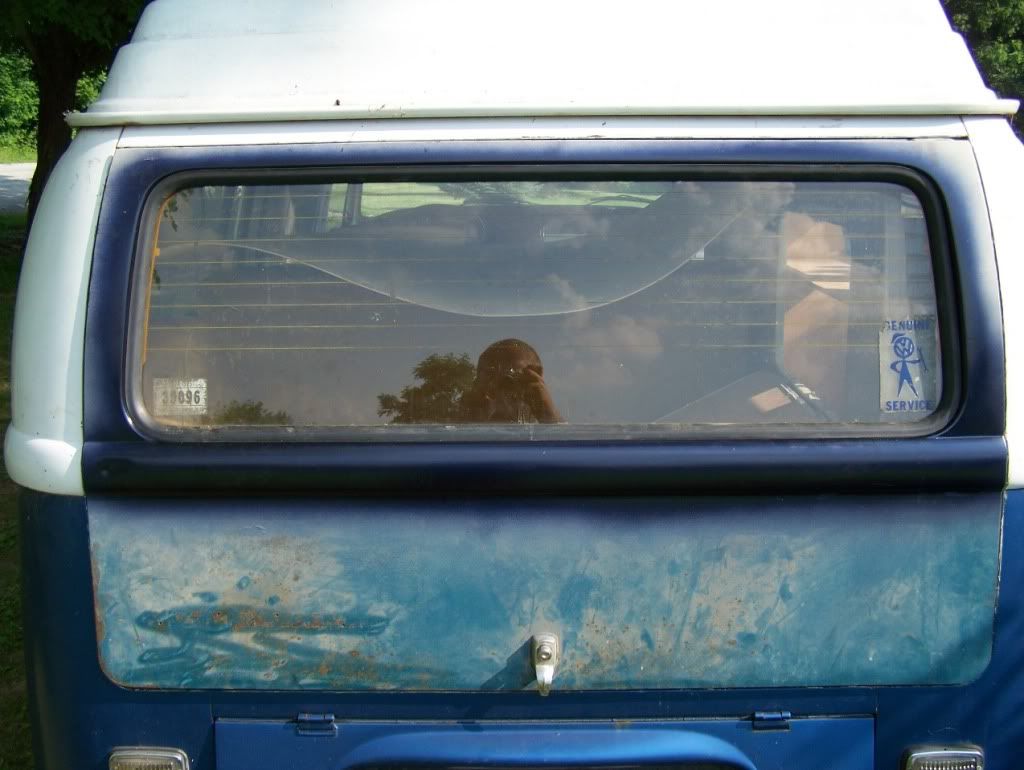
The old hatch - is worse than it looks. It will be my first welding project, to start its own thread at a later date after I get some scrap metal.

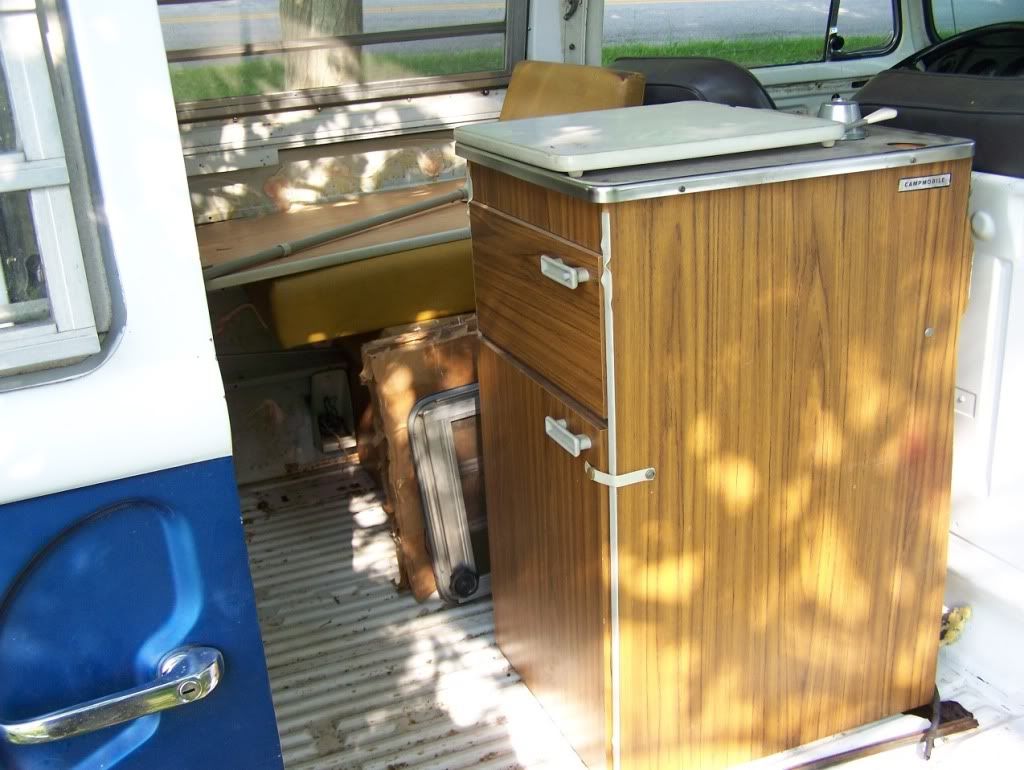
A quick shot of the mismatched interior parts, still need the wood on the driver side or some sort of replacement, same with entire headliner.

Another shot of the interior parts. The right wood sink/fridge is in the barn to be installed later.
The cover up paint is some sort of dark blue, an ok color for the body work at the moment.
The nose was straighted most of the way and all tire carrier holes closed up. I'll have to redrill the holes for the VW logo that used to be on Olaf (replaced his with NOS
The wheel arch splash areas were cut out and fixed. Driver well
Passenger well
Driver rocker
Driver rocker part 2
Passenger rocker. The door is still hard to open, like it was before. Any suggestions?
The old hatch was pretty much swiss cheese, so preemptively I traded my cot for a hatch I hoped was better, it was but not pristine. Needs paint...
The old hatch - is worse than it looks. It will be my first welding project, to start its own thread at a later date after I get some scrap metal.
A quick shot of the mismatched interior parts, still need the wood on the driver side or some sort of replacement, same with entire headliner.
Another shot of the interior parts. The right wood sink/fridge is in the barn to be installed later.
Nick a.k.a. Parts-whore, Young Nick, Subwoofer Nick, Nebraska Nick, Doc, the Amish connection.
Now: 1967 bug, 68 westy, 70 bus, 70 westy, 70 bug (FS), 71 westy, 71 bug
Past: 58 bug, 66 bug, 68 bug, 68 westy, 71 super, 74 super
Now: 1967 bug, 68 westy, 70 bus, 70 westy, 70 bug (FS), 71 westy, 71 bug
Past: 58 bug, 66 bug, 68 bug, 68 westy, 71 super, 74 super
Re: Nick's 1971 Westy
Now to go take off the apron and pull the engine to get at the gas tank.
Nick a.k.a. Parts-whore, Young Nick, Subwoofer Nick, Nebraska Nick, Doc, the Amish connection.
Now: 1967 bug, 68 westy, 70 bus, 70 westy, 70 bug (FS), 71 westy, 71 bug
Past: 58 bug, 66 bug, 68 bug, 68 westy, 71 super, 74 super
Now: 1967 bug, 68 westy, 70 bus, 70 westy, 70 bug (FS), 71 westy, 71 bug
Past: 58 bug, 66 bug, 68 bug, 68 westy, 71 super, 74 super
Re: Nick's 1971 Westy
I think I have a good rear hatch for a '71 with a defrost and Grateful Dead/dancing bear stickers. It will need repaint.
Re: Nick's 1971 Westy
No photos from today's stuff, too exhausted/angry to take any. Pulled motor, looks ok, could very well be rebuilt internally, when looking at head, just all accessory parts were reused. Old oil inside the bellhousing, cleaned it up then checked case for rear main leak. Didn't see much, maybe a tiny leak at the back, I'll keep an eye on it. Made a test stand out of old trans case and other parts, ran fine unlike when it was in the bus. The mustache bar adapter was dirty, oil level was fine though. AH AS41 engine case, beetle with adapter. Tank from Tom was good inside, washed it with gasoline inside and bolts to remove any sediment/surface rust until drained clear, put in right away and filled. Old tank was dirty and had some scale and goo inside but PAINT WAS PERFECT ON OUTSIDE!  Guess looks can be deceiving.... Replaced battery ground cable, cleaned metal where ground exists.
Tomorrow:
hook up throttle cable
install battery
reinstall exhaust
replace steering damper
drive it up the hill away from the road
bleed brakes, see if booster works
check wiring for lights ( )
)
Tomorrow:
hook up throttle cable
install battery
reinstall exhaust
replace steering damper
drive it up the hill away from the road
bleed brakes, see if booster works
check wiring for lights (
Nick a.k.a. Parts-whore, Young Nick, Subwoofer Nick, Nebraska Nick, Doc, the Amish connection.
Now: 1967 bug, 68 westy, 70 bus, 70 westy, 70 bug (FS), 71 westy, 71 bug
Past: 58 bug, 66 bug, 68 bug, 68 westy, 71 super, 74 super
Now: 1967 bug, 68 westy, 70 bus, 70 westy, 70 bug (FS), 71 westy, 71 bug
Past: 58 bug, 66 bug, 68 bug, 68 westy, 71 super, 74 super
Re: Nick's 1971 Westy
That thing looks great. It's got LEAKOIL written all over it. No problem on that hatch. Don't throw it away. It can be welded. That's going to be a nice serviceable bus. Functional in every way. 
As far as the slider door is concerned, you've got to go through everything. The upper roller and channel, the lower roller and channel, the lock mechanism, the plastic piece that is always a pain in the you know what, the whole assembly and how it works. Any one thing out of whack will throw you a curve. You've got to get it all 'spot on' for it to work right. Sliders are a full day project. Plan on it, but you can make it happen.
As far as the slider door is concerned, you've got to go through everything. The upper roller and channel, the lower roller and channel, the lock mechanism, the plastic piece that is always a pain in the you know what, the whole assembly and how it works. Any one thing out of whack will throw you a curve. You've got to get it all 'spot on' for it to work right. Sliders are a full day project. Plan on it, but you can make it happen.
Re: Nick's 1971 Westy
Sean, thanks for the info. I will probably tolerate a temperamental slider for awhile until it drives me nuts if it will take a full day. In a few weeks the paint may be different, hard to say... Assembled, roadworthy, and campable are the priorities currently. The interior is definitely LEAKOIL grade without any of the wood panels
Too hot to do a whole lot but now have the right color jumpseat from a 1968 and a sink/fridge from the same year but with cracks. The early jumpseat has an electrical plug and on/off switch built into it, time for some creative wiring to get 2 plug in wall sockets working. Either will store the sink or put it inside next to the 1970 sink unit to act as extra storage space in the walkthrough spot and have a faux non walkthrough. The only part that is the wrong color is the closet (72), but I may tear it apart and use it to rebuild the shell of a 70 closet I got from Tom.
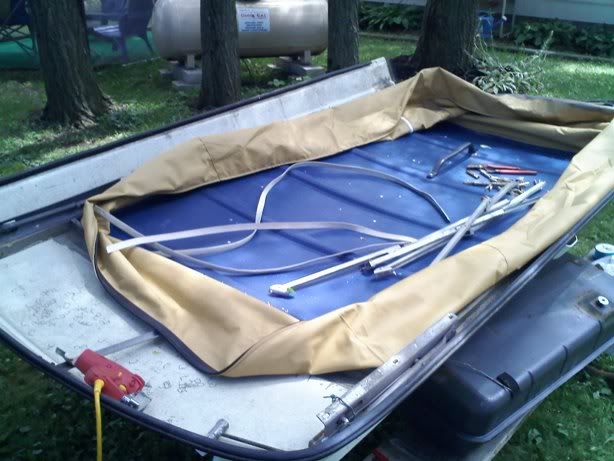
Been working on the poptop, have the canvas stapled in. We eyeballed a guess as to where it should be stapled and will hope for the best, if not gotta tear it all apart...
Need to fix a cross bar on the luggage rack section that has a hole rusted through it. Going to do that tomorrow morning by cutting a spare that has many holes in it and piecing one together and welding. Before and after photos to follow.
NEVER buy a gutted camper, unless it's a barndoor Thank God for the photos I've taken at shows at tuneup day and on the internet to get this thing back together.
Too hot to do a whole lot but now have the right color jumpseat from a 1968 and a sink/fridge from the same year but with cracks. The early jumpseat has an electrical plug and on/off switch built into it, time for some creative wiring to get 2 plug in wall sockets working. Either will store the sink or put it inside next to the 1970 sink unit to act as extra storage space in the walkthrough spot and have a faux non walkthrough. The only part that is the wrong color is the closet (72), but I may tear it apart and use it to rebuild the shell of a 70 closet I got from Tom.
Been working on the poptop, have the canvas stapled in. We eyeballed a guess as to where it should be stapled and will hope for the best, if not gotta tear it all apart...
Need to fix a cross bar on the luggage rack section that has a hole rusted through it. Going to do that tomorrow morning by cutting a spare that has many holes in it and piecing one together and welding. Before and after photos to follow.
NEVER buy a gutted camper, unless it's a barndoor
Nick a.k.a. Parts-whore, Young Nick, Subwoofer Nick, Nebraska Nick, Doc, the Amish connection.
Now: 1967 bug, 68 westy, 70 bus, 70 westy, 70 bug (FS), 71 westy, 71 bug
Past: 58 bug, 66 bug, 68 bug, 68 westy, 71 super, 74 super
Now: 1967 bug, 68 westy, 70 bus, 70 westy, 70 bug (FS), 71 westy, 71 bug
Past: 58 bug, 66 bug, 68 bug, 68 westy, 71 super, 74 super
Re: Nick's 1971 Westy
Did a little bit on the fiberglass luggage rack today. Cut apart two bad cross members to make a decent one. Granted my MIG welding skills are not that great since I've only played with one twice, but I got the job done after a few passes and grinding downs etc. Looks eh, but nobody will really see it sooo time to make it white. Have to search for a rivet gun in my tools or just find some stainless bolts/nuts to reattach the cross members.
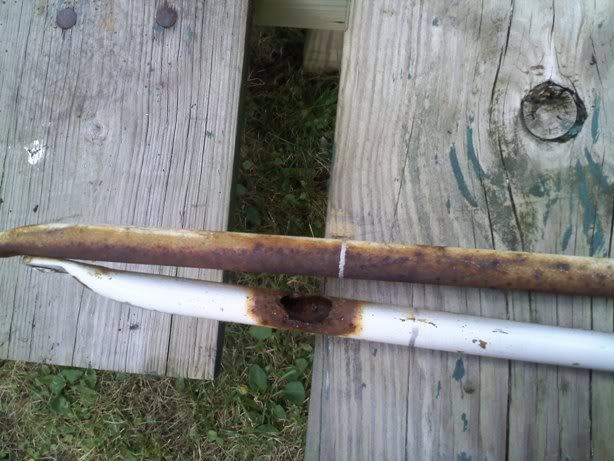
bad cross members
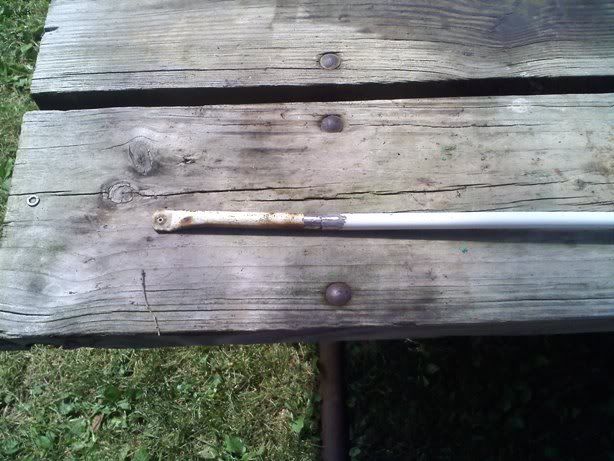
test fit
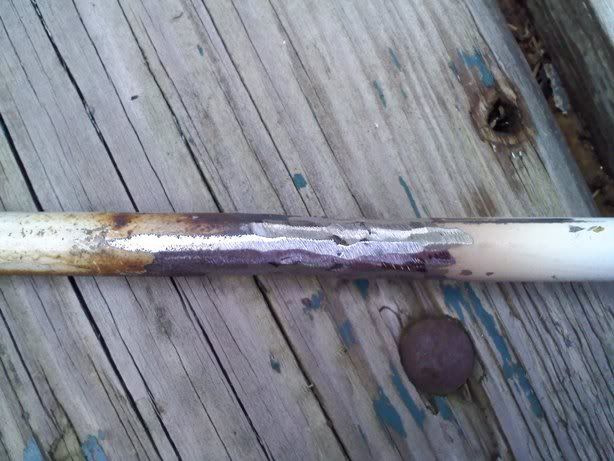
one of a series of welds and grind downs
bad cross members
test fit
one of a series of welds and grind downs
Nick a.k.a. Parts-whore, Young Nick, Subwoofer Nick, Nebraska Nick, Doc, the Amish connection.
Now: 1967 bug, 68 westy, 70 bus, 70 westy, 70 bug (FS), 71 westy, 71 bug
Past: 58 bug, 66 bug, 68 bug, 68 westy, 71 super, 74 super
Now: 1967 bug, 68 westy, 70 bus, 70 westy, 70 bug (FS), 71 westy, 71 bug
Past: 58 bug, 66 bug, 68 bug, 68 westy, 71 super, 74 super
Who is online
Users browsing this forum: No registered users and 1 guest