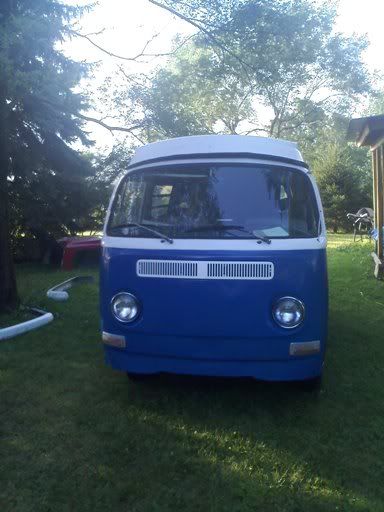
It's nearing completion! I think this one probably qualifies as my first "real" project to date since the 3 other bugs I've to have were so bad I sold/parted them, the bug (Hans) came mechanically ok, but in need, and the bus (Olaf) was in need of assembly.
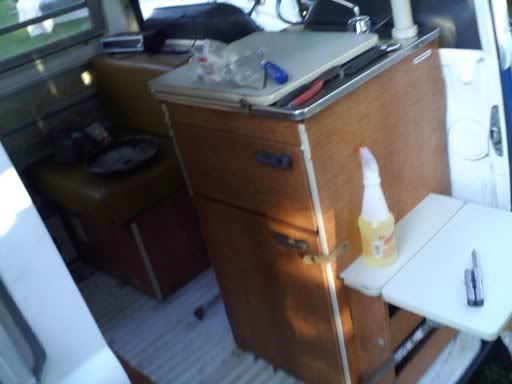
The bumpers are on and the main interior is installed, still minus doors

I need to get mom to make some curtains from the templates I have on hand and make a bag to fit the tent and poles. I have a blue plaid fabric for that, as well as a surprise for the yellow vinyl later on down the road. The flooring and wood paneling will be done later when I have the funds. For now I'm gonna find a cheapo rug and rough it

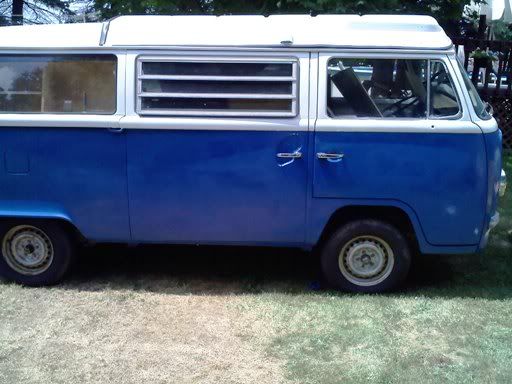
The hubcaps were roached, but as always I have original spares from a different ride that are in a bit better shape and need chrome polish

Looking at the front doors I found a steel stamping like the ones that were on early wheels saying "4/71", which matches the vin sticker on the B pillar. I looked more and the wheels have the same stamp on them, now to check the rest of the panels for a 'numbers matching look'

Those seats I put in it are actually WHITE and GREY not a two tone grey, cleaning things with Awesome cleaner shows off whats underneath.
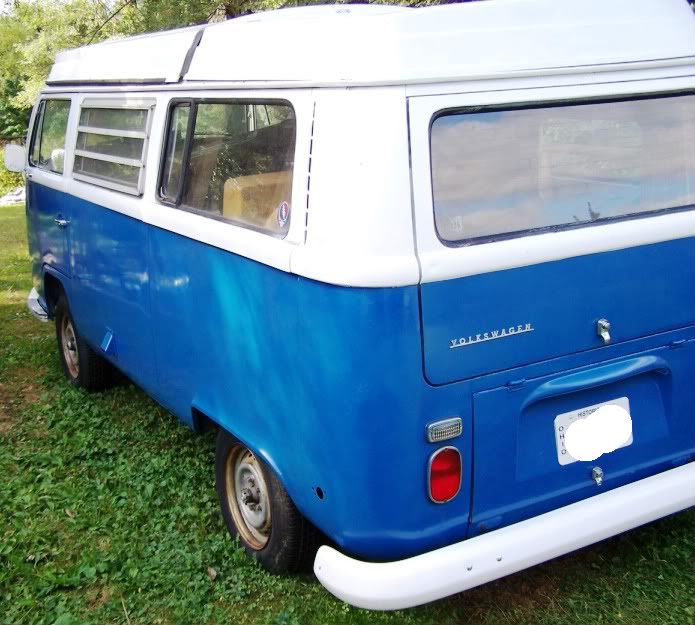
Here are some photos. It was originally pastell white according to the m plate, as is a spare ratty mirror in a box of parts. Need to find my stash of good replacement mirrors! The color change was done by me from who knows what shade of blue by a PO to royal blue, not a great respray due to it being hot that day, (runs/rough patches) but it does the job for now. I may redo it later, or at least fix the runs with 2000 grit wet-sanding.
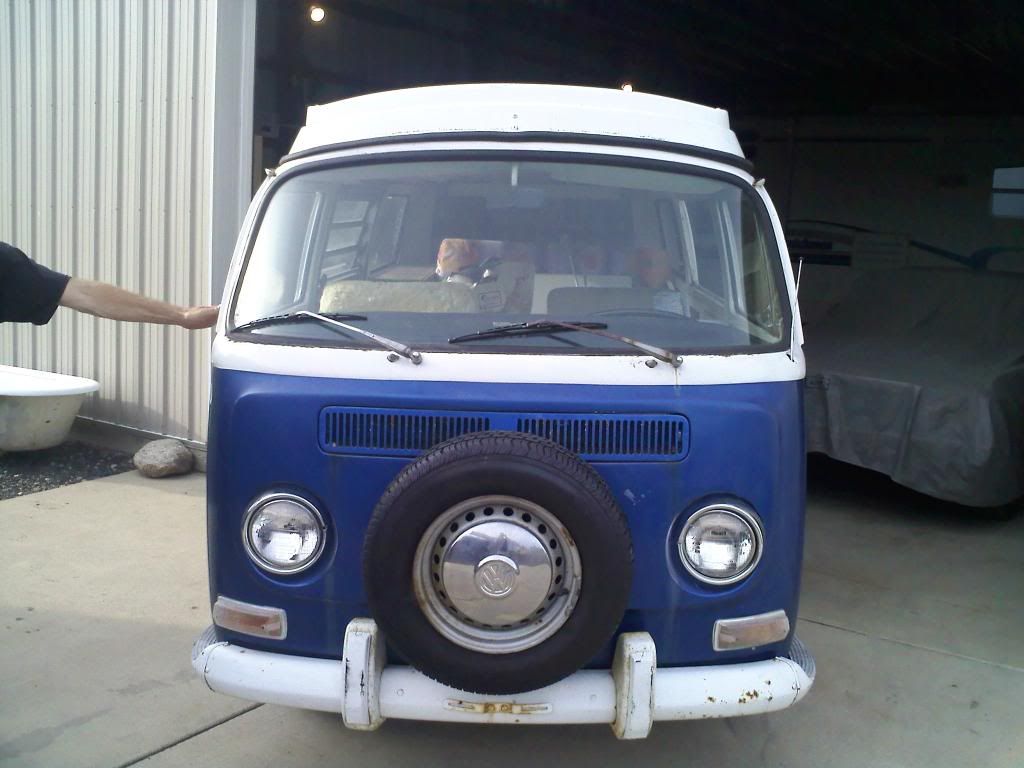
when picked up
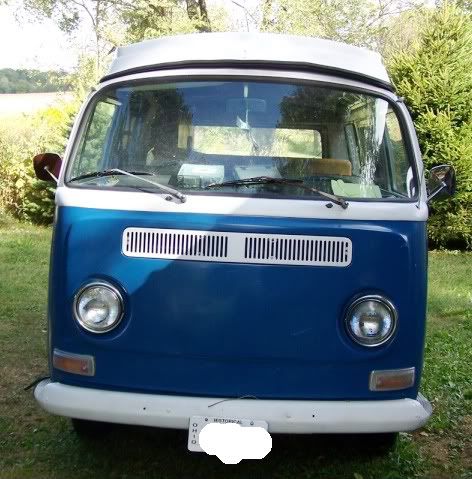
now

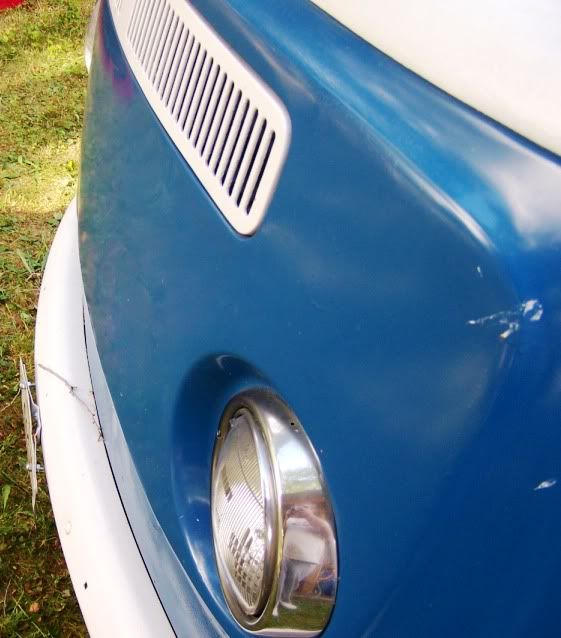
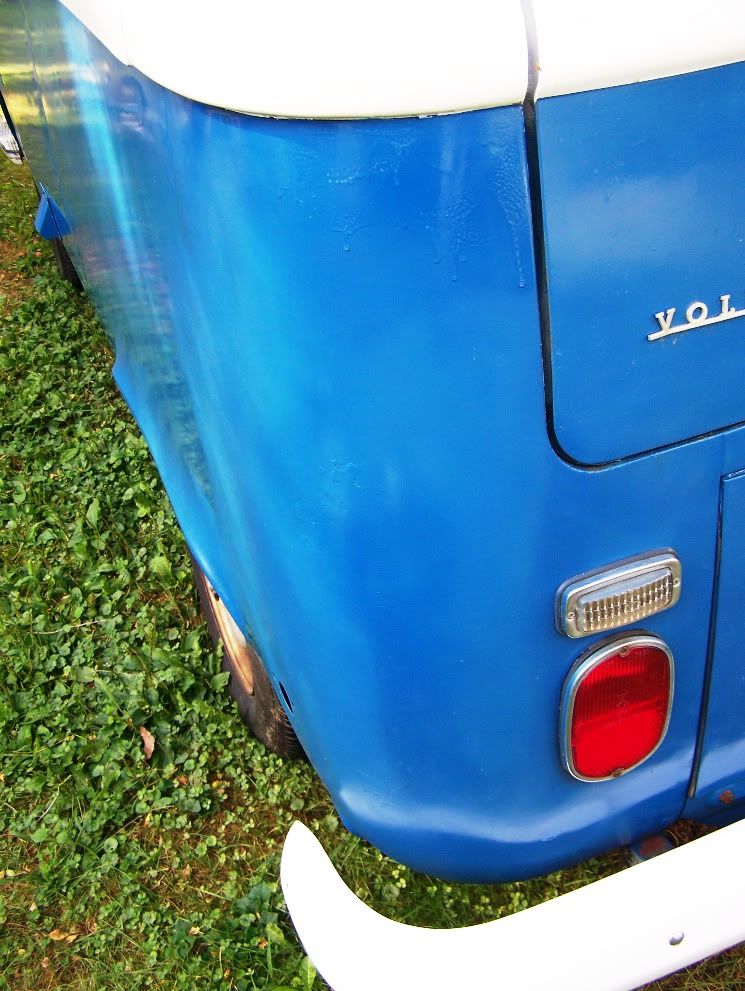
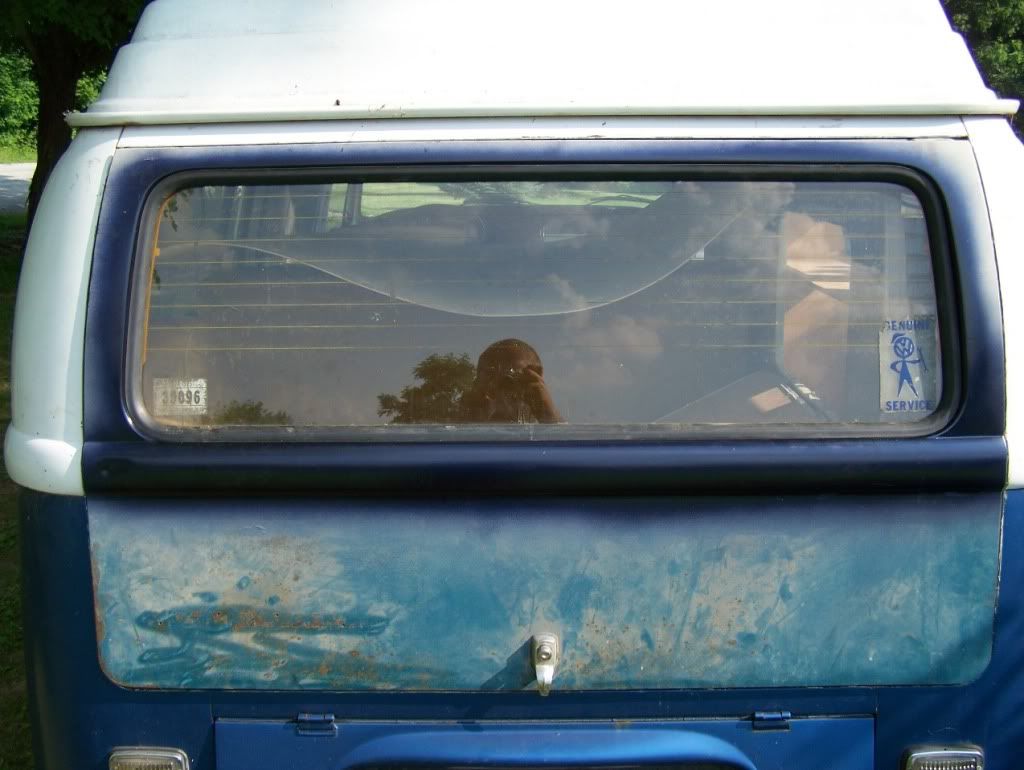
still some dents from that damn tire carrier, need a slide hammer puller thingy or more filler before restoring the emblem to it's place....
Anyone know what the little plastic plugs things are that hold the emblem in the holes, who sells them, and their placement?
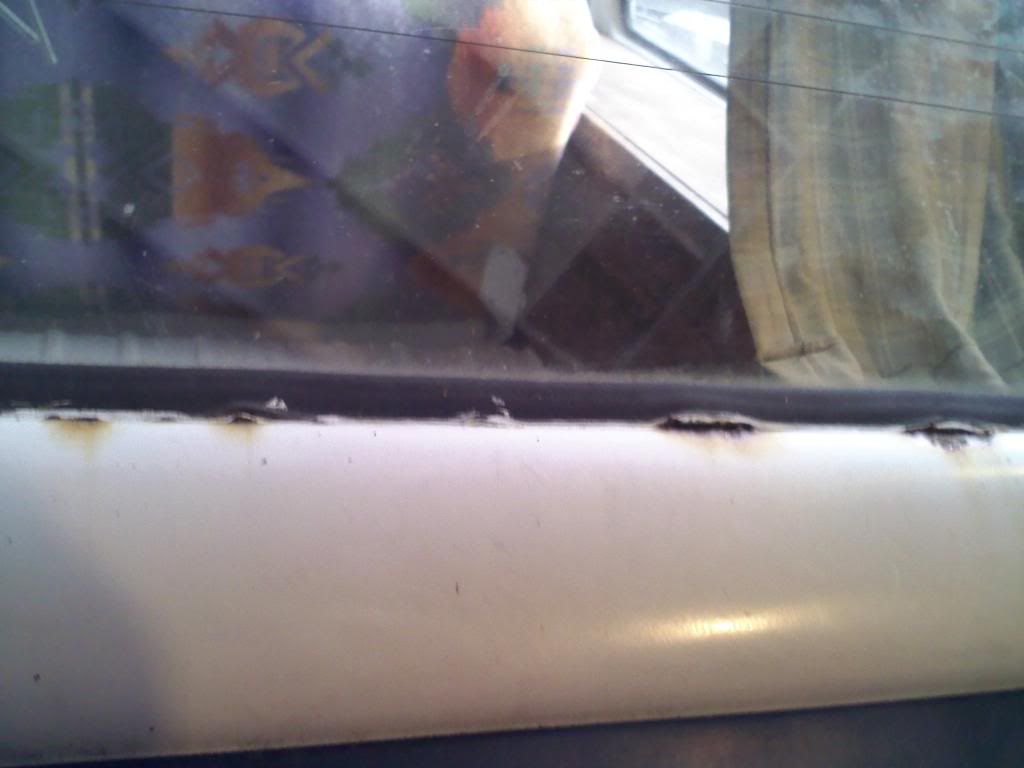
rotten original hatch, future welding project
replacement before repaint

the repainted rear hatch
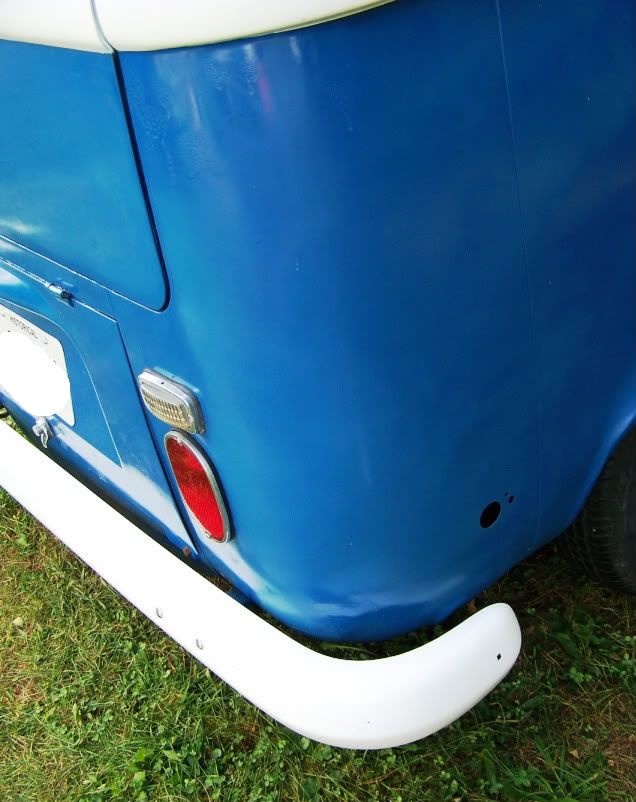
The taillight harness is all fubar'ed to not have any wires to go to the corner reflectors, find ones or ignore and later fill?

bumper steps are so so underneath, and I should strip the old old white paint off the black rubber eventually, or spray with black Krylon
Learning bodywork and filler use, tried to fix up the problems caused by a PO, not much rust there, but dents etc. I'm not great at sanding, 40 to 200 is all I did, should have used a block I guess.